AlertDialogのボタンをカスタマイズする【AndroidStudio】
今回やること。
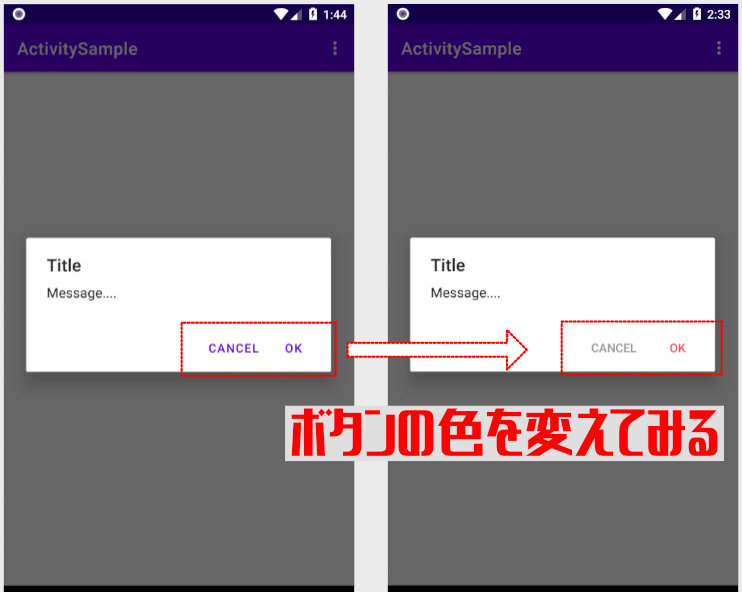
何かとメッセージ表示に使う、AlertDialogのボタンの色を変えてみます。
※themes.xmlを使った変更をやっていきます。
■MainActivity.java
new AlertDialog.Builder(this,R.style.CustomAlertDialog)
        .setTitle("Title")
        .setMessage("Message....")
        .setPositiveButton(android.R.string.ok, null)
        .setNegativeButton(android.R.string.cancel, null)
        .show();
・ダイアログ作成時に、第2引数にスタイルをしてしてあげます。
■themes.xml
<style name="CustomAlertDialog" parent="ThemeOverlay.AppCompat.Dialog.Alert">
    <item name="buttonBarPositiveButtonStyle">@style/AlertDialog.PositiveBtn</item>
    <item name="buttonBarNegativeButtonStyle">@style/AlertDialog.NegativeBtn</item>
</style>

<style name="AlertDialog.PositiveBtn" parent="Widget.AppCompat.Button.ButtonBar.AlertDialog">
    <item name="android:textColor">#FFFF5050</item>
</style>
<style name="AlertDialog.NegativeBtn" parent="Widget.AppCompat.Button.ButtonBar.AlertDialog">
    <item name="android:textColor">#999999</item>
</style>
・ダイアログ作成時に指定するスタイルを作成します(上:CustomAlertDialog)
そして、ボタンのスタイルを指定するitem、
「buttonBarPositiveButtonStyle」「buttonBarNegativeButtonStyle」にスタイルを指定します
・各ボタンのスタイルは別のスタイルを指定作成します。
一見、ダイアログのスタイルではボタンのカスタマイズができなさそうですが、
ダイアログ内のitemで別のスタイルを設定できるので別のスタイルでボタンのカスタマイズができます。
(今回は文字色だけですが、文字の背景色なども変更できるようです。)
少しでもオシャンティーなダイアログにするために活用していこうと思います。
以上、本日の記録。

コメント
コメントを投稿